
Visible when needed. Unobtrusive every day.
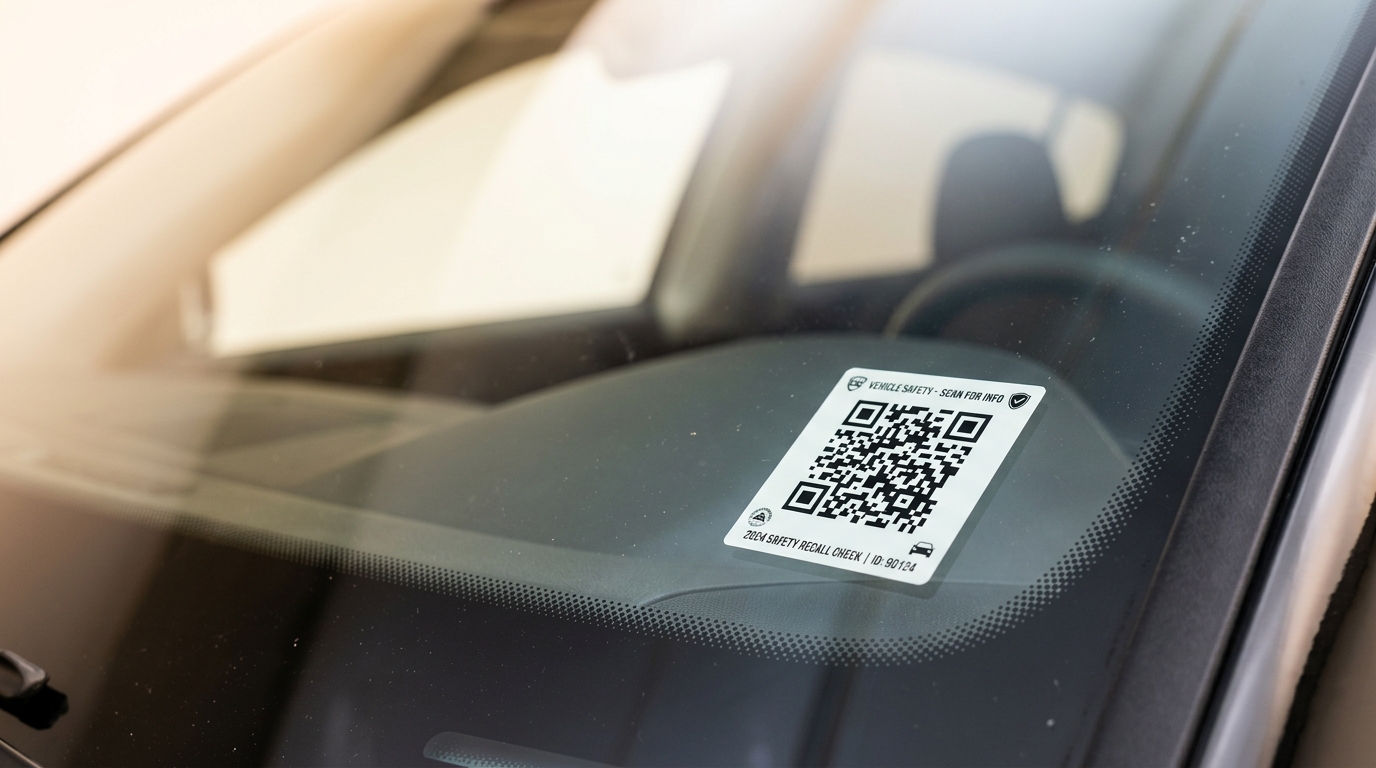
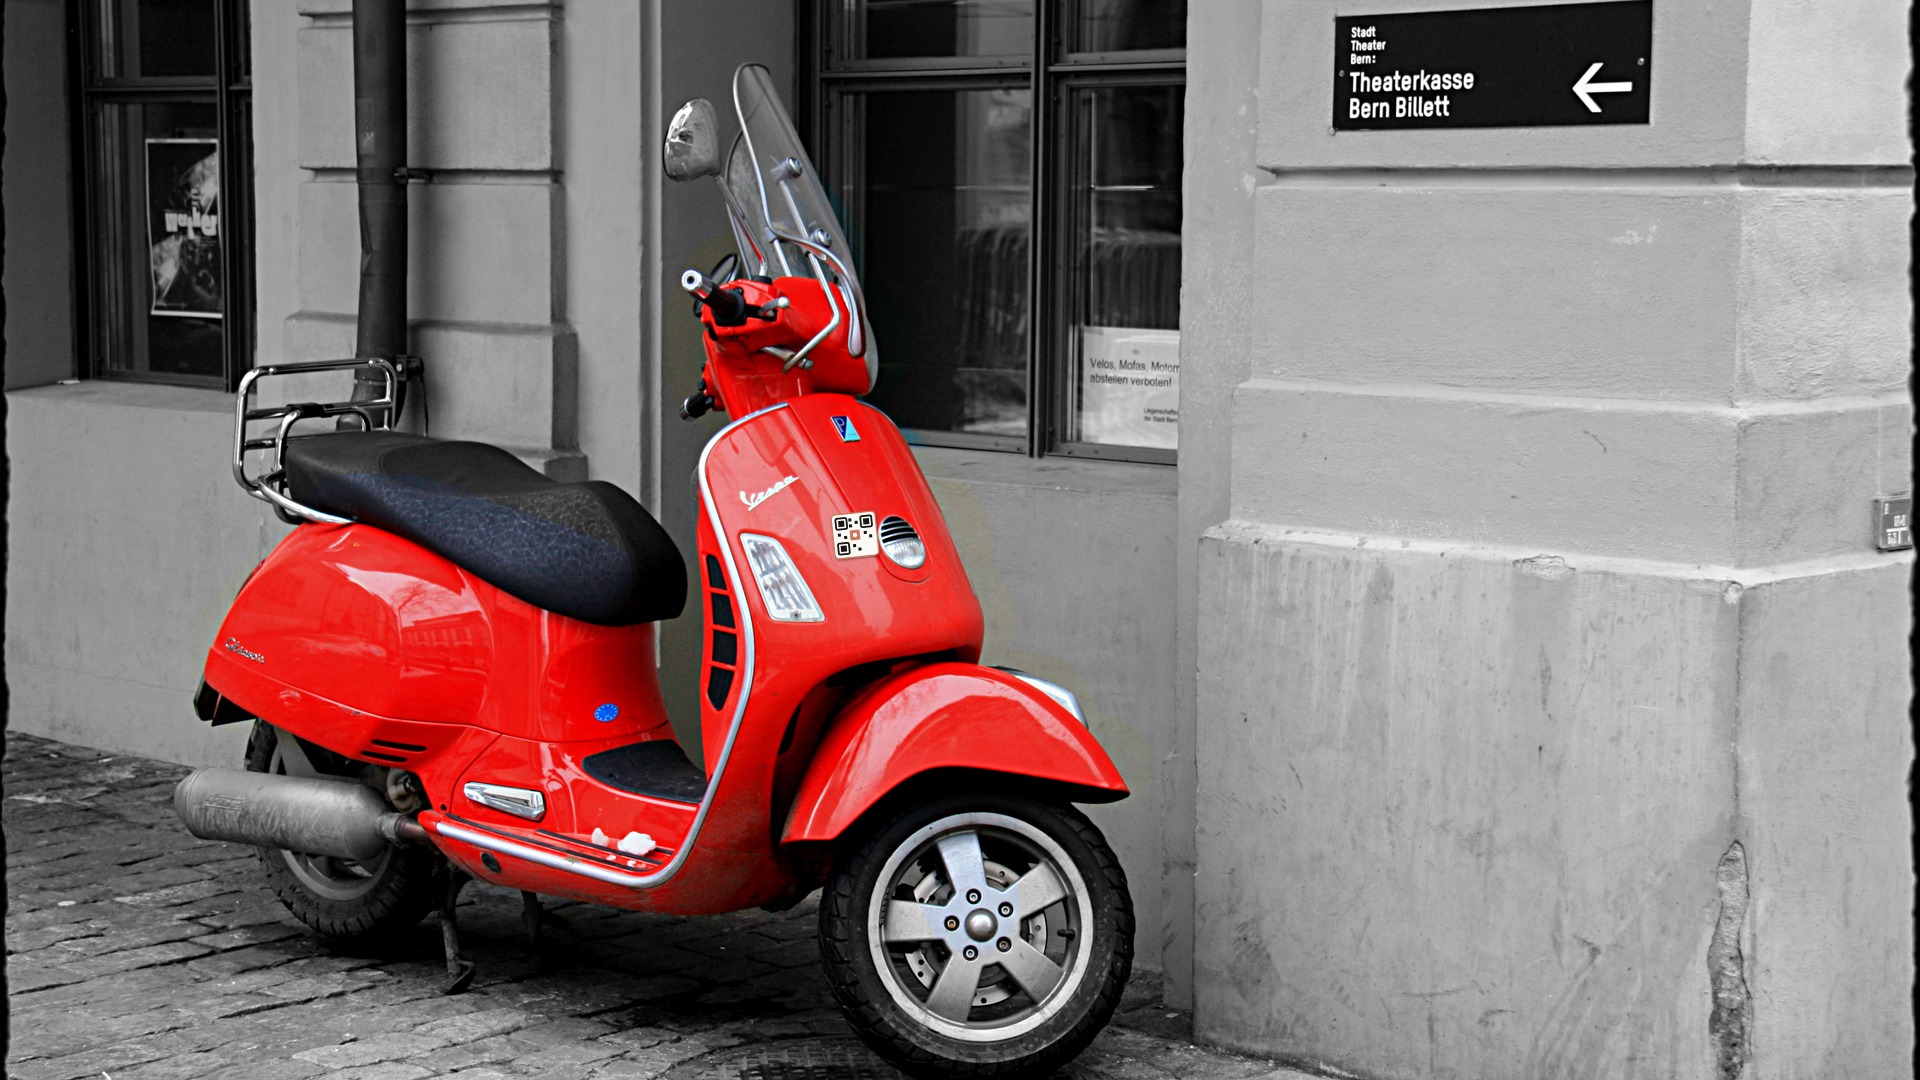
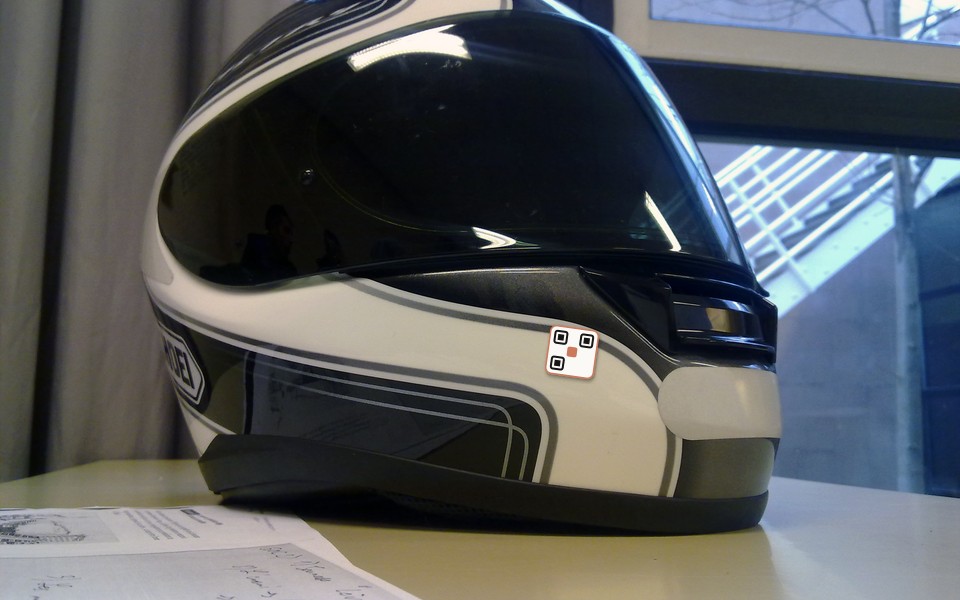
Illustrative placement examples for cars, scooters and motorcycles.
Choose a clean, flat, visible surface that does not obstruct the driver's view, a lamp, registration plate or required marking. Test scannability after installation.

Choose a visible surface
A passer-by should be able to locate and scan the QR without touching or entering your vehicle.
Use these images as placement illustrations, not a guarantee that a particular position is suitable for every vehicle. Follow the kit instructions and the vehicle manufacturer's guidance.
Avoid deep curves, textured plastic, moving parts and places exposed to abrasion. The QR should lie flat and remain visible after accessories, luggage or covers are fitted.
- Cars: consider an unobstructive passenger-side glass corner where permitted.
- Two-wheelers: consider a flat, visible body surface away from heat and wear.
- Never cover lights, registration marks or safety labels.
- A helmet example is a secondary placement illustration, not a replacement for a vehicle marker.
Prepare before applying
Clean, dry and test the position before committing the sticker.
Check how the sticker will look from outside the vehicle. Consider glare on glass and whether a scanner can approach safely. Clean the surface using a method suitable for that surface and let it dry.
Apply according to the instructions provided with your kit. Do not cut into the QR, cover its edges or add a transparent layer that makes scanning unreliable.
Read the placement guideTest and maintain
Legibility matters more than a visually neat placement.
Scan the installed sticker with a phone camera from a normal approach angle. Make sure the expected VaahanSafe page opens for the correct vehicle.
Inspect the sticker periodically for dirt, peeling, fading or damage. If scanning becomes unreliable, review placement or request replacement support. Do not assume an unreadable sticker can provide a useful contact route.
Get replacement help